My Wood Fired Oven
I’ve been getting a lot of questions about my wood fired oven lately so thought I’d do a bit of a blog post on it. There will no doubt be loads missing but if you’ve got any questions drop me a line.
I’ve wanted a wood fired oven ever since we bought our first house but like a lot of things I never got round to doing it
Last year I spent a lot of time tidying the garden, putting some new decking down and generally sorting stuff out that has been neglected for the last 6 or 7 years.
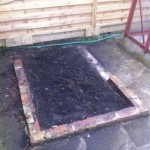
As part of the tidy up I demolished my old cold frame as what ever grew in there was always devoured by bugs or slugs. This left me with the perfect space for a the wood fired oven and started months of research and pricing up of various options.
Originally I’d intended to build one, River Cottage style one from local clay or shop bought firebricks, so downloaded loads of instructions, PDFs and videos, but given my lack of DIY skills and some of the prices I was getting back for materials, I decided it would only end up costing a small fortune and looking rubbish. or falling to bits over the winter.
I then started looking at various pre build options and had pretty much settled on one of three ovens, the first being an Amigo oven which looked just the job, big enough to get a couple of pizzas or a roast in plus had the added benefit of being able to add a spit to for spit roasting. Unfortunately after measuring and re measuring the various access points to our garden I couldn’t figure out a way of getting the oven in other than hiring a rather expensive crane and lifting it over the house or garage. So my attention switched turned to option two, the Jamie Oliver wood fired oven, but after doing a bit of reading and seeing a few photos I decided I preferred the Stone Bake Oven Company (SBOC) and their Mezzo 76.
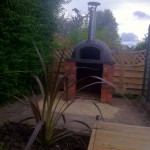
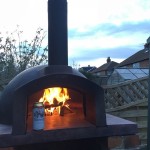
The Mezzo is built in the UK and made from a reinforced composite which comes in 3 separate pieces with the biggest piece being the dome, which when turned on it’s side it would leave plenty of room to get through the gate into the garden, with the added bonus of being of either leaving it as it came and being able to take it with us should we move house or to insulate it and turn it into more of a feature as many others had done judging by the brilliant photos on the SBOC website.
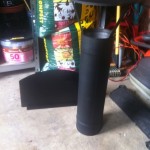
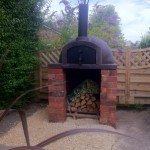
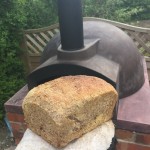
After a few emails back and forth with SBOC I decided to order one along with the free accessory pack. The oven took about 2 weeks to arrive, which gave me time to sort a base for it out. I got a mate to build a simple 3 sided brick wood store using the same weathered bricks that the garage is built from. This meant that when the oven arrived we could just lift the pieces into place and the oven would sit on the top with no need for any cement or fixings. The oven arrived in two separate deliveries, the accessory pack and chimney arrived first followed by a pallet full of the rest of the oven. The two sections of base were easy to lift into place but the dome took 3 of us to lift and manoeuvre into place but it was easy enough once we’d all got a good grip of it. I’d already decided I wanted to spray the silver chimney and the door black so had ordered some stove paint from ebay so gave them a quick spray before putting them in place, the chimney was a bit of a tight fit so i had to sand a little bit of the oven away round the hole so it sat in place properly. As I’d decided not to insulate or cover it I’d also ordered some sealant to paint the oven with just as added protection from the elements and after a couple of coats the oven was ready to go, no need for pre firing or anything like that as the oven comes ready to use.
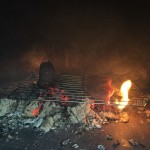
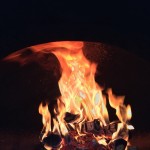
I’ve now had the oven for a year or so and have loved almost every minute of it. Firing it and getting used to the heat took a bit of getting used to and a lot of experimentation with wood types and sizes. I’ve found that the best logs to use have to be really really dry, with as little moisture in as possible, this helps the oven get up to temperature quicker and means that there’s very little smoke after the first 5 minutes. I’ve been using a mix of kiln dried birch and oak depending what’s on offer at my favourite log store…Reservoir Logs, who send the logs all the way from Scotland, which have been much better quality than anything I’ve found locally. I’ve found that splitting the logs down into chunks no thicker than my wrist means they catch light easily and don’t put the fire out, something which happened all too often in the first few weeks. I’ve also found yorkshire trading do some brilliant natural firelighters that are cheap as chips and really get the fire going. Then that keeping an eye on the soot on the oven dome helps tell when it’s ready for cooking as the soot burns off the hotter the oven gets.
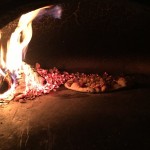
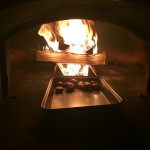
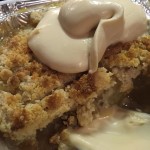
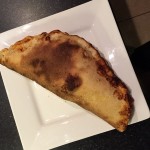
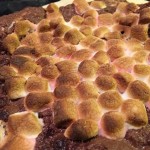
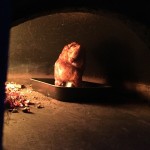
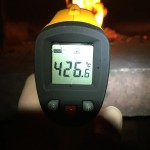
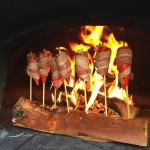
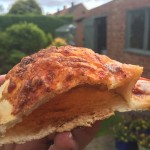
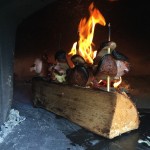
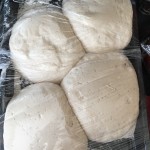
I’ve experimented with lots of different doughs, I’m still on the hunt for the perfect pizza crust but am really happy with what i’ve been producing so far, they cook really quickly when the oven is up over 400 degrees C, giving a nice light airy and crispy crust provided you don’t over do the toppings. Once i’d got used to doing pizza I started experimenting with other dishes such as steak, beer butt chicken, pulled beef lasagne and chicken tandoori with naan bread, like using the heat as the oven is getting up to temperature to cook things like bacon wrapped jalapeño poppers, wurst-lollies, chestnuts and other pre pizza nibbles. Then using the heat as the oven cools down to cook bread, cakes, crumble or big trays of vegetables for pasta or sandwiches the next day.
Getting a wood fired oven is genuinely one of the best things i’ve done, it’s been used most weeks since I got it and i’ve got lots of plans for new dishes and new pizza toppings….that and waiting for my san marzano to ripen so I can use them to make sauce again rather than tinned toms from the shop.
As soon as I get chance I’ll post a couple more of the recipes on here.












COMMENTS